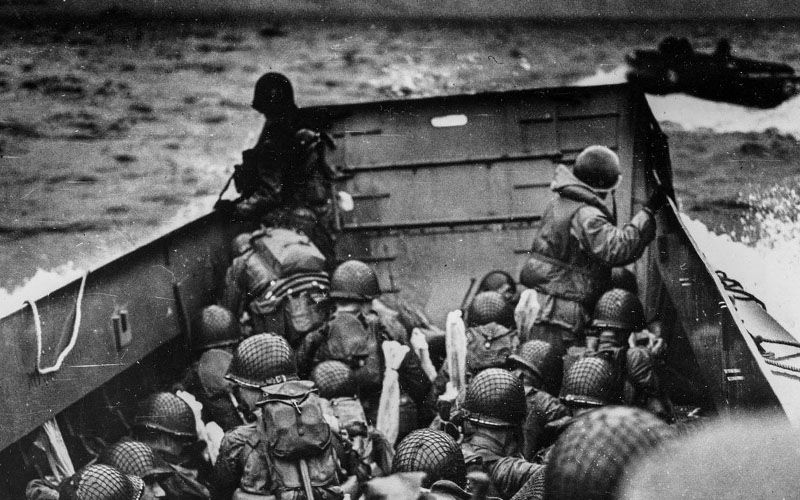
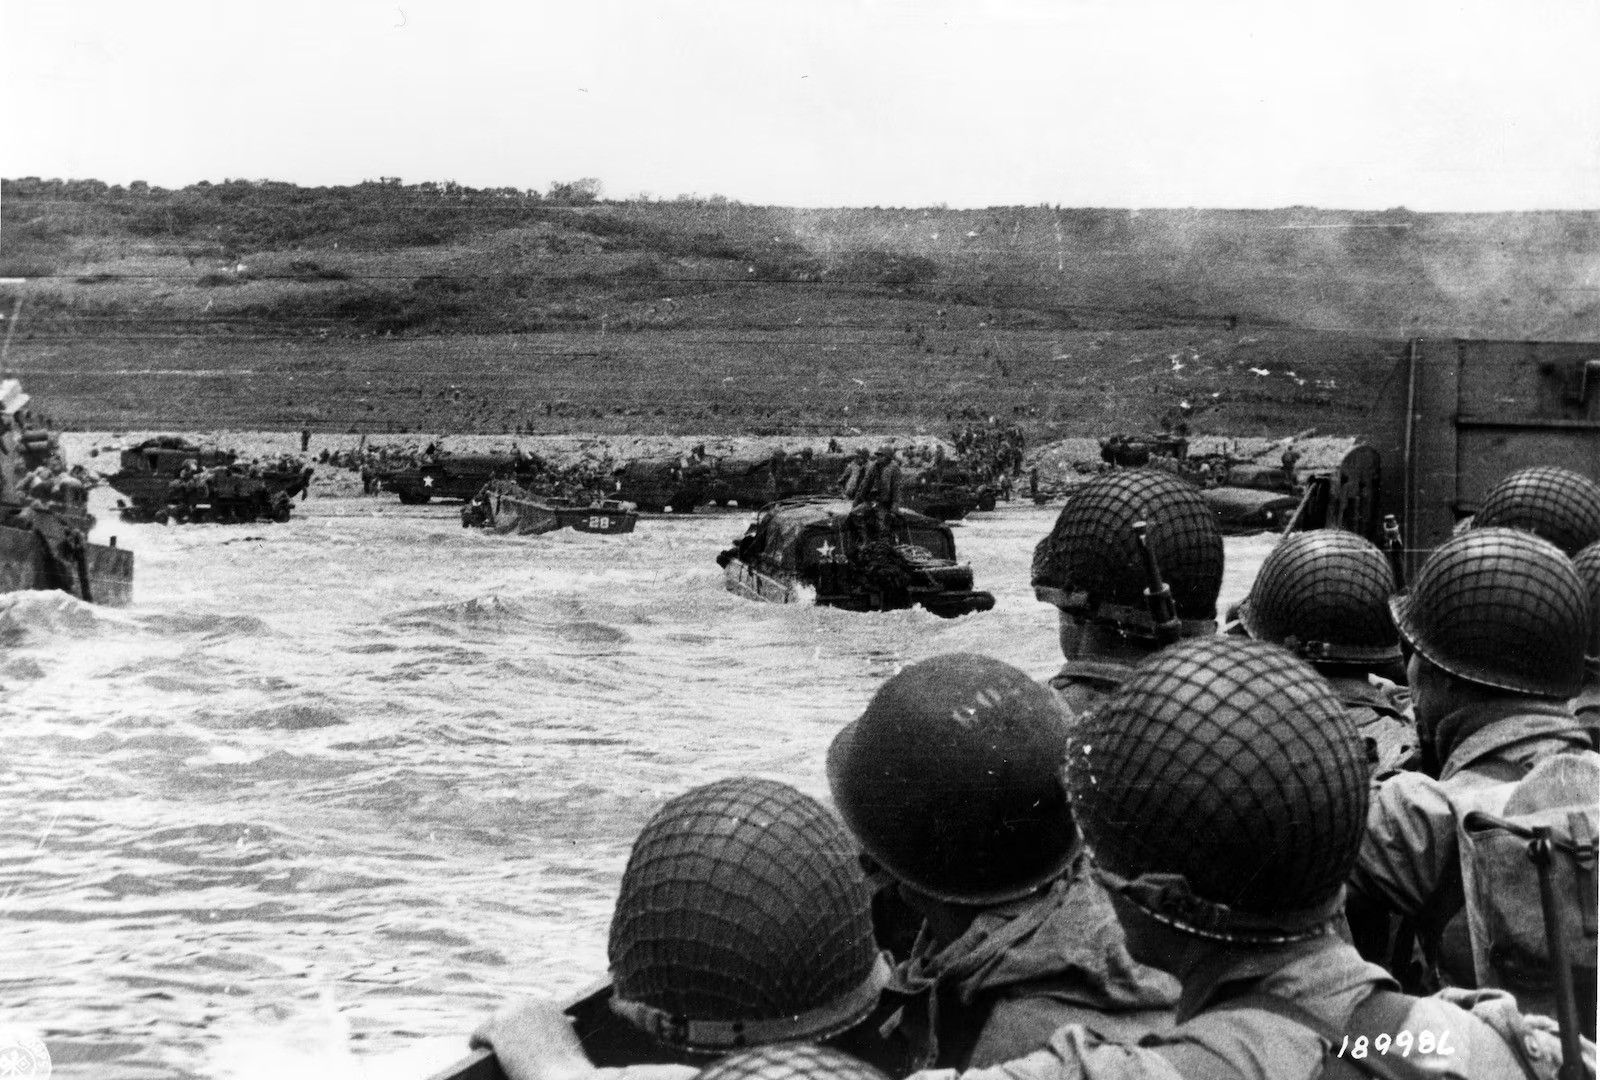
In the early hours of June 6, 1944, a daring mission unfolded that marked the beginning of the Allied invasion of Normandy. British airborne troops, transported by gliders, launched a lightning assault on two strategic bridges spanning the Caen Canal and River Orne. The successful capture of Pegasus Bridge was crucial in limiting the effectiveness of German counter-attacks during the D-Day operations.
Operation Deadstick, as this mission was codenamed, demonstrated remarkable precision and bravery. Three Halifax bombers towed Horsa gliders across the English Channel, delivering the special forces to their target. This operation occurred a full six hours before the main beach landings, giving the Allies control of vital crossing points that would protect the eastern flank of the invasion force.
The battle came at a cost, with two airborne soldiers losing their lives during the assault and fourteen others sustaining injuries. Despite these casualties, the capture of Pegasus Bridge stands as one of the most successful operations of D-Day, showcasing the effectiveness of airborne tactics and the crucial role they played in the larger Normandy invasion strategy.
Historical Context
The capture of Pegasus Bridge represented one of the earliest and most crucial operations of D-Day, setting the stage for the larger Allied invasion of Normandy on June 6, 1944.
The Strategic Importance of Pegasus Bridge
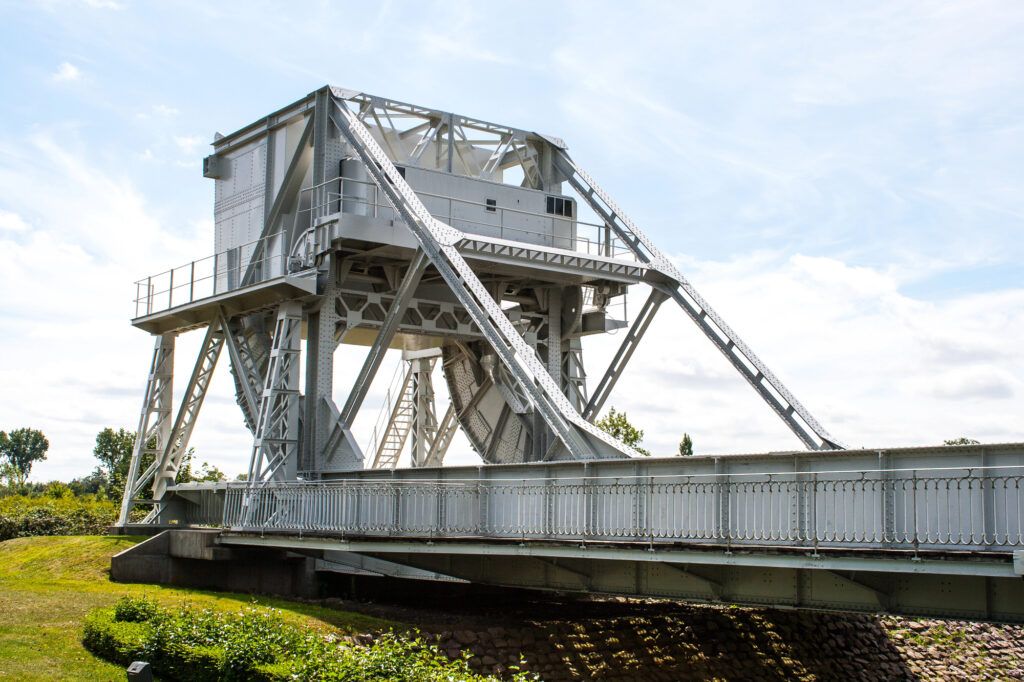
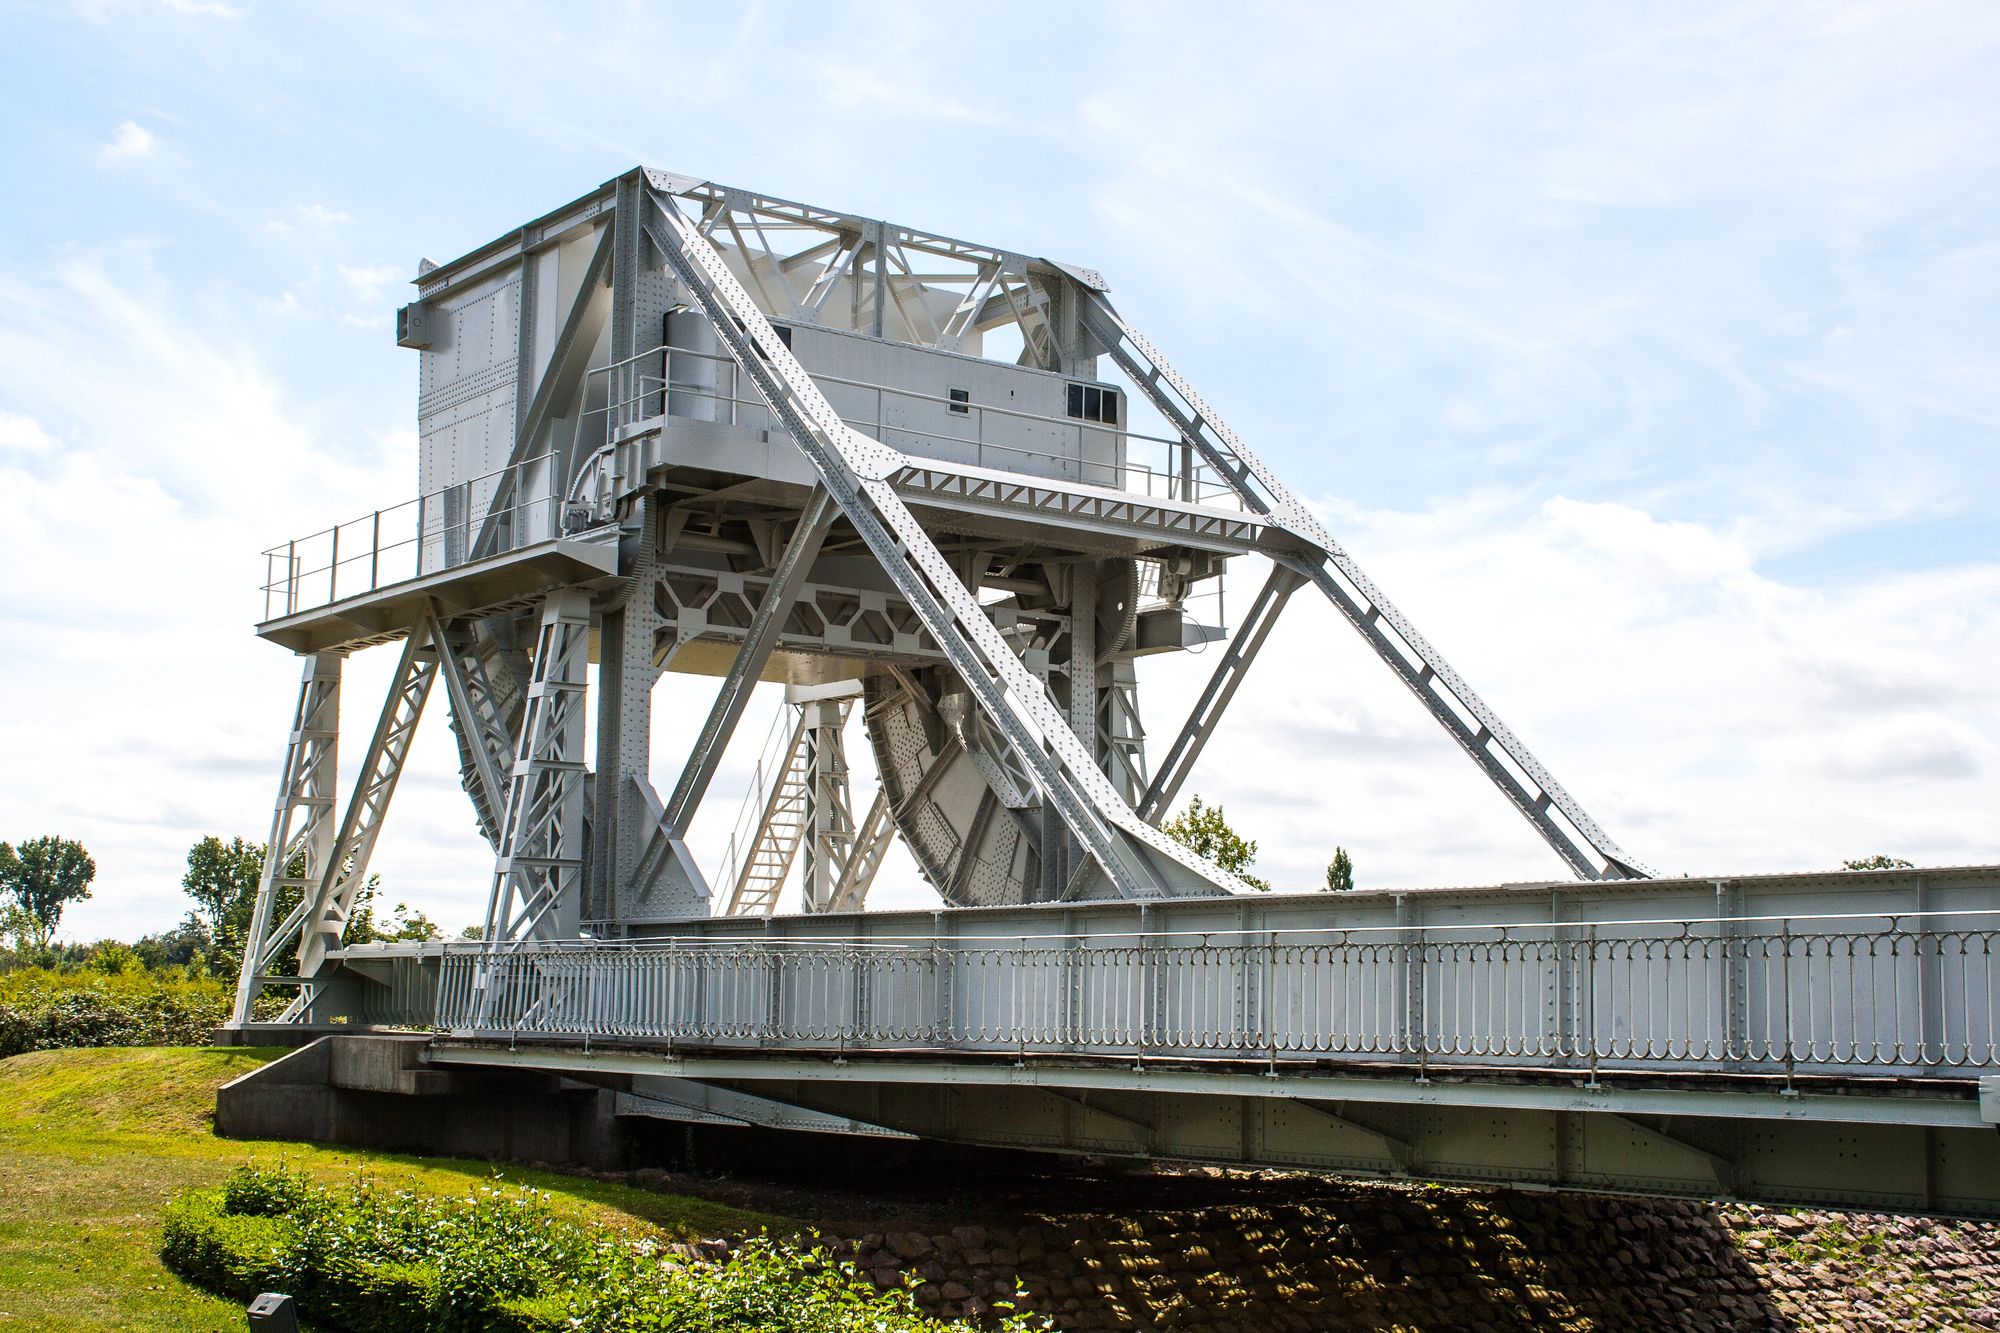
Pegasus Bridge (officially the Caen Canal Bridge) and the nearby Horsa Bridge spanning the River Orne were vital strategic targets. These bridges controlled the eastern flank of the Allied landing zones, particularly Sword Beach. By capturing these crossings intact, the Allies could prevent German reinforcements from attacking the landing beaches from the east.
The bridges also secured an escape route for Allied forces should a retreat become necessary. German demolition of these structures would have isolated British troops landing at Sword Beach, potentially compromising the entire eastern sector of the invasion.
Additionally, the bridges provided the only crossing points for miles, making them crucial for Allied mobility once troops moved inland from the beaches.
Allied Invasion Plans for Normandy
Operation Overlord, the code name for the Normandy invasion, involved meticulous planning of multiple beach landings along the French coast. The Atlantic Wall, Hitler’s massive coastal defense system, necessitated careful strategic consideration.
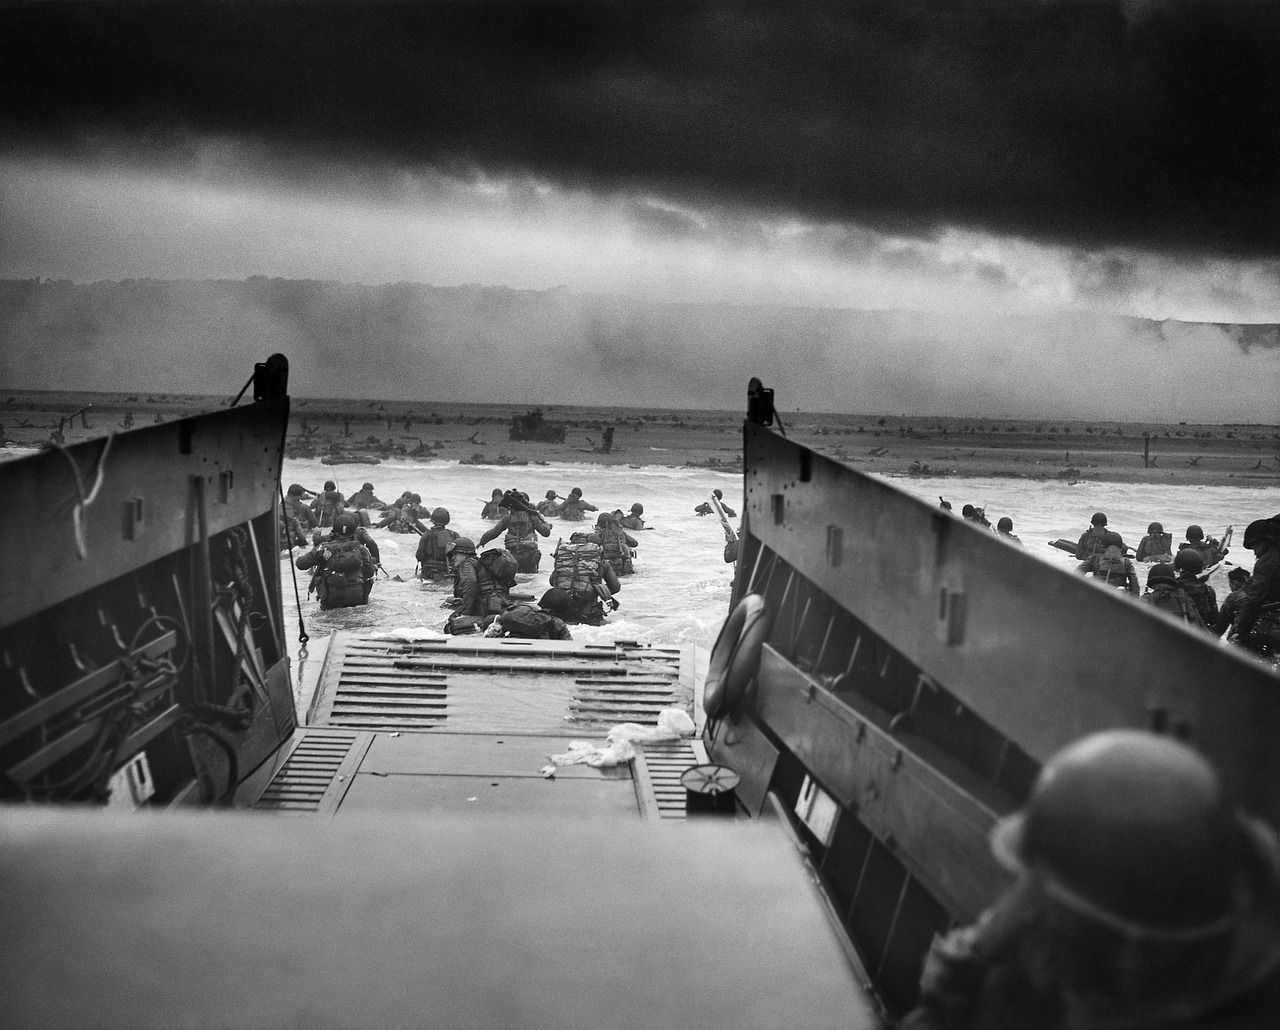
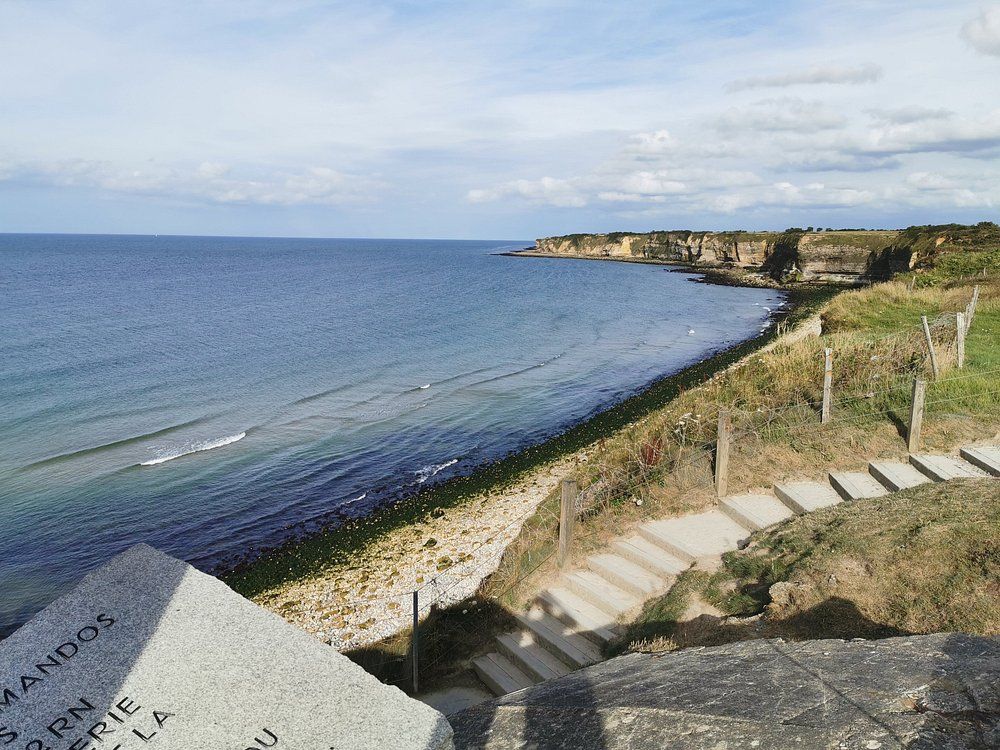
The D-Day landings would occur across five beaches: Utah, Omaha, Gold, Juno, and Sword. Pegasus Bridge formed a critical component of the eastern flank protection near Sword Beach, where British forces would come ashore.
Allied planners determined that airborne operations would precede the amphibious landings by several hours. The 6th Airborne Division received orders to secure the bridges intact, with the operation scheduled for the early morning darkness of June 6, 1944 – approximately six hours before the beach landings would commence.
The Preliminary Operations
The capture of Pegasus Bridge involved meticulous planning and specialized training, with the British military devising a bold glider assault strategy to secure vital crossings before the main D-Day landings.
A Glider-Borne Assault Strategy
Operation Deadstick was the codename for the daring British plan to capture two strategic bridges in Normandy. The mission called for using Horsa gliders to deliver airborne troops with precision and silence. Military planners chose gliders over parachute drops because they could deliver concentrated groups of soldiers directly to the targets.
The Horsa gliders, made primarily of wood and canvas, could carry up to 30 fully equipped troops or vehicles and artillery pieces. This transport method offered significant advantages—gliders were silent in their final approach and could land in small areas near the objectives.
British commanders determined that securing these bridges intact was essential to protect the eastern flank of the Allied invasion forces and prevent German reinforcements from crossing.
Preparation and Training of the 6th Airborne Division
The 6th Airborne Division, specifically D Company of the 2nd Battalion Oxfordshire and Buckinghamshire Light Infantry led by Major John Howard, was selected for this critical mission. These troops underwent intensive specialized training for six months.
The soldiers practiced assaults on replica bridges built in England to match their targets. They rehearsed night operations, rapid deployment from gliders, and close-quarters combat tactics. Each man memorized detailed models and maps of the area.
Training included:
- Mock assaults on similar bridges in the UK
- Night navigation exercises
- Glider landing drills
- Hand-to-hand combat techniques
The unit practiced until they could perform their tasks in complete darkness. Their training paid particular attention to methods for neutralizing enemy defenses quickly and preventing bridge demolition by German forces.
Operation Deadstick
Operation Deadstick was a critical airborne mission carried out by British forces on the night of June 5-6, 1944, just hours before the main D-Day landings. The operation aimed to secure two strategic bridges over the Caen Canal and River Orne to prevent German reinforcements from reaching the beaches and to secure an exit route for Allied troops landing at Sword Beach.
The Capture of Pegasus and Horsa Bridges
The primary targets of Operation Deadstick were two bridges: the Caen Canal Bridge (later renamed Pegasus Bridge) and the River Orne Bridge (later called Horsa Bridge). These bridges were vital for Allied forces to maintain mobility after the beach landings.
At approximately 16 minutes past midnight on June 6, the first glider carrying troops touched down just 47 meters from the Canal Bridge. Within minutes, D Company troops had secured the bridge from German defenders.
The operation was remarkably successful, with both bridges captured intact within 10 minutes of landing. This prevented the Germans from destroying these crucial crossings and ensured Allied forces could move inland from the beaches.
The defenders at the bridges were primarily German engineers, not combat troops, which contributed to the swift British victory.
Major John Howard’s Role in the Mission
Major John Howard led D Company of the Oxfordshire and Buckinghamshire Light Infantry (Ox and Bucks) in this daring mission. Howard was specifically selected to command this high-priority operation due to his leadership abilities and attention to detail.
Howard meticulously prepared his men through intensive training, including building replica bridges in England for practice assaults. His company rehearsed the attack countless times under varying conditions.
During the actual operation, Howard demonstrated exceptional leadership. After landing in the first glider, he quickly organized his forces and personally led the assault on the Caen Canal Bridge.
Following the successful capture, Howard established defensive positions and held the bridges until reinforcements arrived. His famous message “Ham and Jam” was the code signaling both bridges had been captured intact.
The Nighttime Glider Landing
The airborne assault began on the evening of June 5, 1944, with six Horsa gliders taking off from England at 22:56, each towed by Halifax bombers. The gliders carried approximately 180 troops from D Company, Ox and Bucks Light Infantry.
The precision of the nighttime landing was extraordinary. Flying without engines, the gliders had to be released at exactly the right moment to land silently near their targets. The lead glider, piloted by Staff Sergeant Jim Wallwork, crash-landed just yards from the Caen Canal Bridge.
The remaining gliders landed within minutes of each other, though not all hit their exact targets. The element of surprise was crucial to the operation’s success, with German defenders caught completely off guard by troops landing via silent gliders.
This risky nighttime operation represented one of the most precise and successful airborne landings of World War II.
The Heroism Displayed
The capture of Pegasus Bridge showcased extraordinary bravery from British forces who executed one of the most perfect operations of D-Day. Their courage under fire and commitment to mission success proved vital to the Allied invasion.
1st Casualty and Bravery of Lieutenant Den Brotheridge
Lieutenant Den Brotheridge led the charge across Pegasus Bridge with remarkable courage. As his platoon approached the bridge, he blew his whistle and rushed forward, inspiring his men to follow. Tragically, he became the first Allied soldier killed in action on D-Day when German fire struck him in the neck as he crossed.
Despite seeing their leader fall, Brotheridge’s men continued the assault, capturing the bridge within 10 minutes. This swift action prevented the Germans from destroying this crucial crossing.
His sacrifice embodied the mission’s importance – securing a vital route for Allied forces moving inland from the beaches. Fellow soldiers reported that Brotheridge fought with calm determination despite facing direct enemy fire.
Engineers and Demolition Charges
British engineers displayed exceptional bravery in their critical task of neutralizing explosive charges on the bridge. Working under intense pressure, they methodically located and disarmed German demolition devices that could have destroyed the structure.
These specialists crawled beneath the bridge while sporadic gunfire continued, removing wires and explosives that threatened both the mission and their lives. Their technical expertise prevented catastrophic damage to a crossing essential for the Allied advance.
The engineers completed this dangerous work despite limited equipment and poor visibility in the pre-dawn darkness. Their quick assessment and decisive action saved not only the physical bridge but ensured Allied vehicles could soon cross into Normandy.
Reinforcement by Paratroopers and Engineers
The 7th Battalion of the Parachute Regiment arrived to reinforce the initial assault team, fighting through enemy territory to reach Pegasus Bridge. Many landed off-target but still navigated through unfamiliar terrain to join the defense.
The 6th Airlanding Brigade provided additional support, strengthening the British position against repeated German counterattacks. These reinforcements constructed defensive positions and repelled several determined enemy efforts to recapture the bridge.
Engineers from both units worked tirelessly to strengthen the bridge for heavier Allied vehicles and repair damage from the battle. Throughout the day, these combined forces held their position despite being significantly outnumbered.
Their defense allowed Allied forces from the beaches to link up with the airborne troops, creating a solid defensive line that proved crucial to the success of the broader D-Day operations.
The Battle and Defense of the Bridges
The capture of Pegasus Bridge and the nearby Orne River bridge became one of the most critical early actions of D-Day. British forces seized these strategic crossings in a daring night operation and then defended them against determined German counter-attacks.
German Counter-Attacks
The German response to the capture of Pegasus Bridge was swift and determined. Within hours of the British assault, German forces launched their first counter-attack to reclaim these vital crossings. Lieutenant Hans Holler led the initial German response with a small force of infantry, but was repelled by the well-positioned British defenders.
Throughout June 6, more coordinated German counter-attacks materialized. The 21st Panzer Division attempted to push through to the beaches via these bridges, but found their path blocked by the determined British forces. This prevented German armor from effectively responding to the main Allied landings.
The German counter-attacks continued for several days but gradually lost momentum as Allied reinforcements arrived. These failed attempts to recapture the bridges significantly limited the effectiveness of German defensive operations in the eastern flank of the invasion area.
Role of the Glider Infantry and Airborne Forces
The operation to capture Pegasus Bridge relied primarily on the 6th Airborne Division’s glider-borne troops. Major John Howard led D Company of the Oxfordshire and Buckinghamshire Light Infantry in this precision assault, landing six Horsa gliders remarkably close to their objectives.
The glider infantry’s success hinged on the element of surprise and exceptional training. Each soldier knew his specific role, allowing them to secure both bridges within minutes of landing. This quick action prevented the Germans from destroying these critical crossings.
The larger airborne operation surrounding the bridges involved thousands of paratroopers from the British 6th Airborne Division. These forces created a protective screen around the bridges, occupying nearby villages and strategic positions. Despite being scattered during the night drops, these airborne forces effectively consolidated their positions by morning.
Securing Benouville and the Caen Canal Zone
The village of Benouville, situated at the western end of Pegasus Bridge, became a focal point of the battle. British forces quickly secured key buildings in the village, including the Gondrée Café, which became the first building liberated on D-Day.
British and Canadian reinforcements arrived throughout June 6 to strengthen the defensive perimeter. Lord Lovat’s 1st Special Service Brigade, including his famous bagpiper Bill Millin, crossed Pegasus Bridge around midday, relieving the pressure on Howard’s men. The 6th Airborne’s defense extended eastward to include the Orne River bridge (later named Horsa Bridge).
The successful defense of the Caen Canal zone protected the entire eastern flank of the Allied landings. By controlling these crossings, Allied forces prevented German armored units from attacking the vulnerable landing beaches from the east. This security allowed the invasion to proceed without the threat of being cut off from behind.
Post-Battle Events
After the successful capture of Pegasus Bridge, several important events followed that shaped both the outcome of D-Day and how the battle would be remembered in history.
The Aftermath and Liberation
Following the capture of Pegasus Bridge, the British troops held their position against multiple German counterattacks. Relief arrived when Lord Lovat’s commandos reached the bridge at 1:00 PM on D-Day, famously accompanied by his personal piper. This linkup marked one of the first successful connections between airborne and amphibious forces.
The bridge remained under Allied control throughout the Normandy campaign. It played a crucial role in allowing Allied forces to move supplies and troops across the Caen Canal while preventing German reinforcements from reaching the beaches.
The nearby village of Benouville was liberated as part of this operation. Local French civilians, who had endured years of occupation, celebrated their freedom as Allied forces secured the area.
Tributes and Veterans’ Commemorations
The original Pegasus Bridge, built in 1934, now serves as a war memorial at the Memorial Pegasus museum in Ranville. In 1994, the bridge was replaced with a newer structure while preserving the historic original.
Annual commemoration ceremonies attract veterans, families, and history enthusiasts to the site. These gatherings honor the bravery of the glider troops who executed one of D-Day’s most precise operations.
Many veterans returned over the decades to share their stories. Major John Howard, who led the operation, frequently visited until his death in 1999.
The café near the bridge, Café Gondrée, claims to be the first building liberated on D-Day and remains a popular stopping point for visitors paying tribute to the operation’s legacy.
Legacy and Memory
The battle of Pegasus Bridge has left a lasting impact on history and our collective memory of D-Day. This crucial operation has been immortalized through museums, memorials, and educational initiatives that preserve the story of the brave soldiers who secured this strategic objective.
Pegasus Bridge in Memory and Education
The Pegasus Bridge operation is often taught as a textbook example of a near-perfect military mission. Military academies study the precision of the glider landings and the swift capture of the bridges as a model of tactical excellence. The operation demonstrates how a small force of just 170 British soldiers could secure objectives of immense strategic value through careful planning and bold execution.
Books, films, and documentaries continue to tell the story of Major John Howard and his men. Their daring mission features prominently in historical accounts of D-Day, ensuring new generations learn about this pivotal moment in the liberation of Europe.
School groups regularly visit the site to learn about this crucial chapter of World War II history.
Museums and Memorials at Normandy
The Pegasus Bridge Museum (Mémorial Pegasus) is the primary tribute to the operation. It opened in 2000 and houses the original bridge that was replaced in 1994. The museum features artifacts, photographs, and detailed exhibits about the operation.
Café Gondrée, the first house liberated on D-Day, still operates today. Run by the Gondrée family during the war, it has become a pilgrimage site for veterans and history enthusiasts. The café preserves its wartime appearance and displays historical photographs.
A bust of Major John Howard stands near the bridge in Benouville, honoring the commander who led the operation. Plaques along the riverbanks mark key locations of the battle.
Annual ceremonies in Calvados commemorate the anniversary of the bridge capture. Veterans, descendants, and officials gather to pay tribute to those who fought there.

